For many of us, burgers and brats are our go-to on the grill. And sure, we’ve all had grilled chicken at a backyard barbecue, but more than often it turns out…well, let’s just say that after one bite of dried out chicken, it’s hard to want to go back for more. Burgers and brats, on the other hand, are a little bit easier to get right even if you’re a novice.
At Mighty Flame, we love sharing grilling tips and tricks from time to time, and as a matter of fact, we recently wrote what we consider to be some of our most helpful guides yet. You can find our ultimate burger grilling guide and our definitive steak grilling guide right here on our website. It’s never a bad idea to have some tried-and-true information on the art of grilling, and that’s why in today’s post, we’d like to share some tips on how you can make the most of your grilled chicken and avoid a dried out disaster.
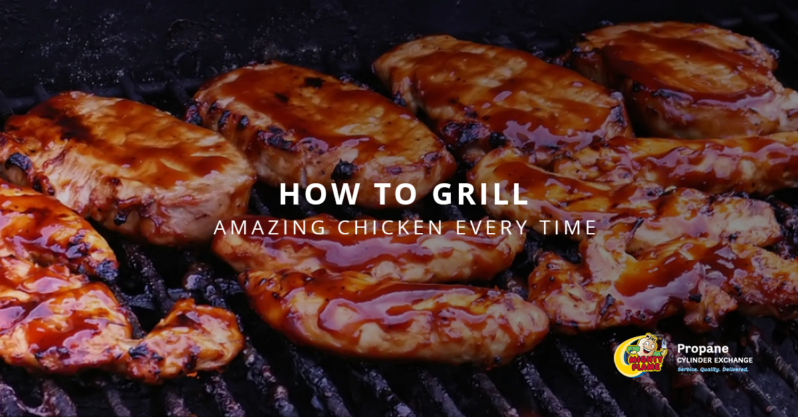
After all, chicken is amazing–when it’s done right. If you’ve been hesitant to give it a try because of past failures, just know that you’re in good company. Once you know what you’re doing, chicken is an easy food to grill and can make for a nice change of pace. Keep reading to get our tips for getting awesome grilled chicken every single time.
How to Grill Incredible Chicken
Let’s just get this out of the way right off the bat. Whether it’s breasts, thighs, or tenderloins, your grilling tactics will remain fairly similar. Having said that, many people choose to take advantage of boneless, skinless chicken breasts because they’re easy to prepare. Whichever route you go, you can follow our grilling tips and rest assured that as long as you keep an eye on things, it will probably turn out just fine.
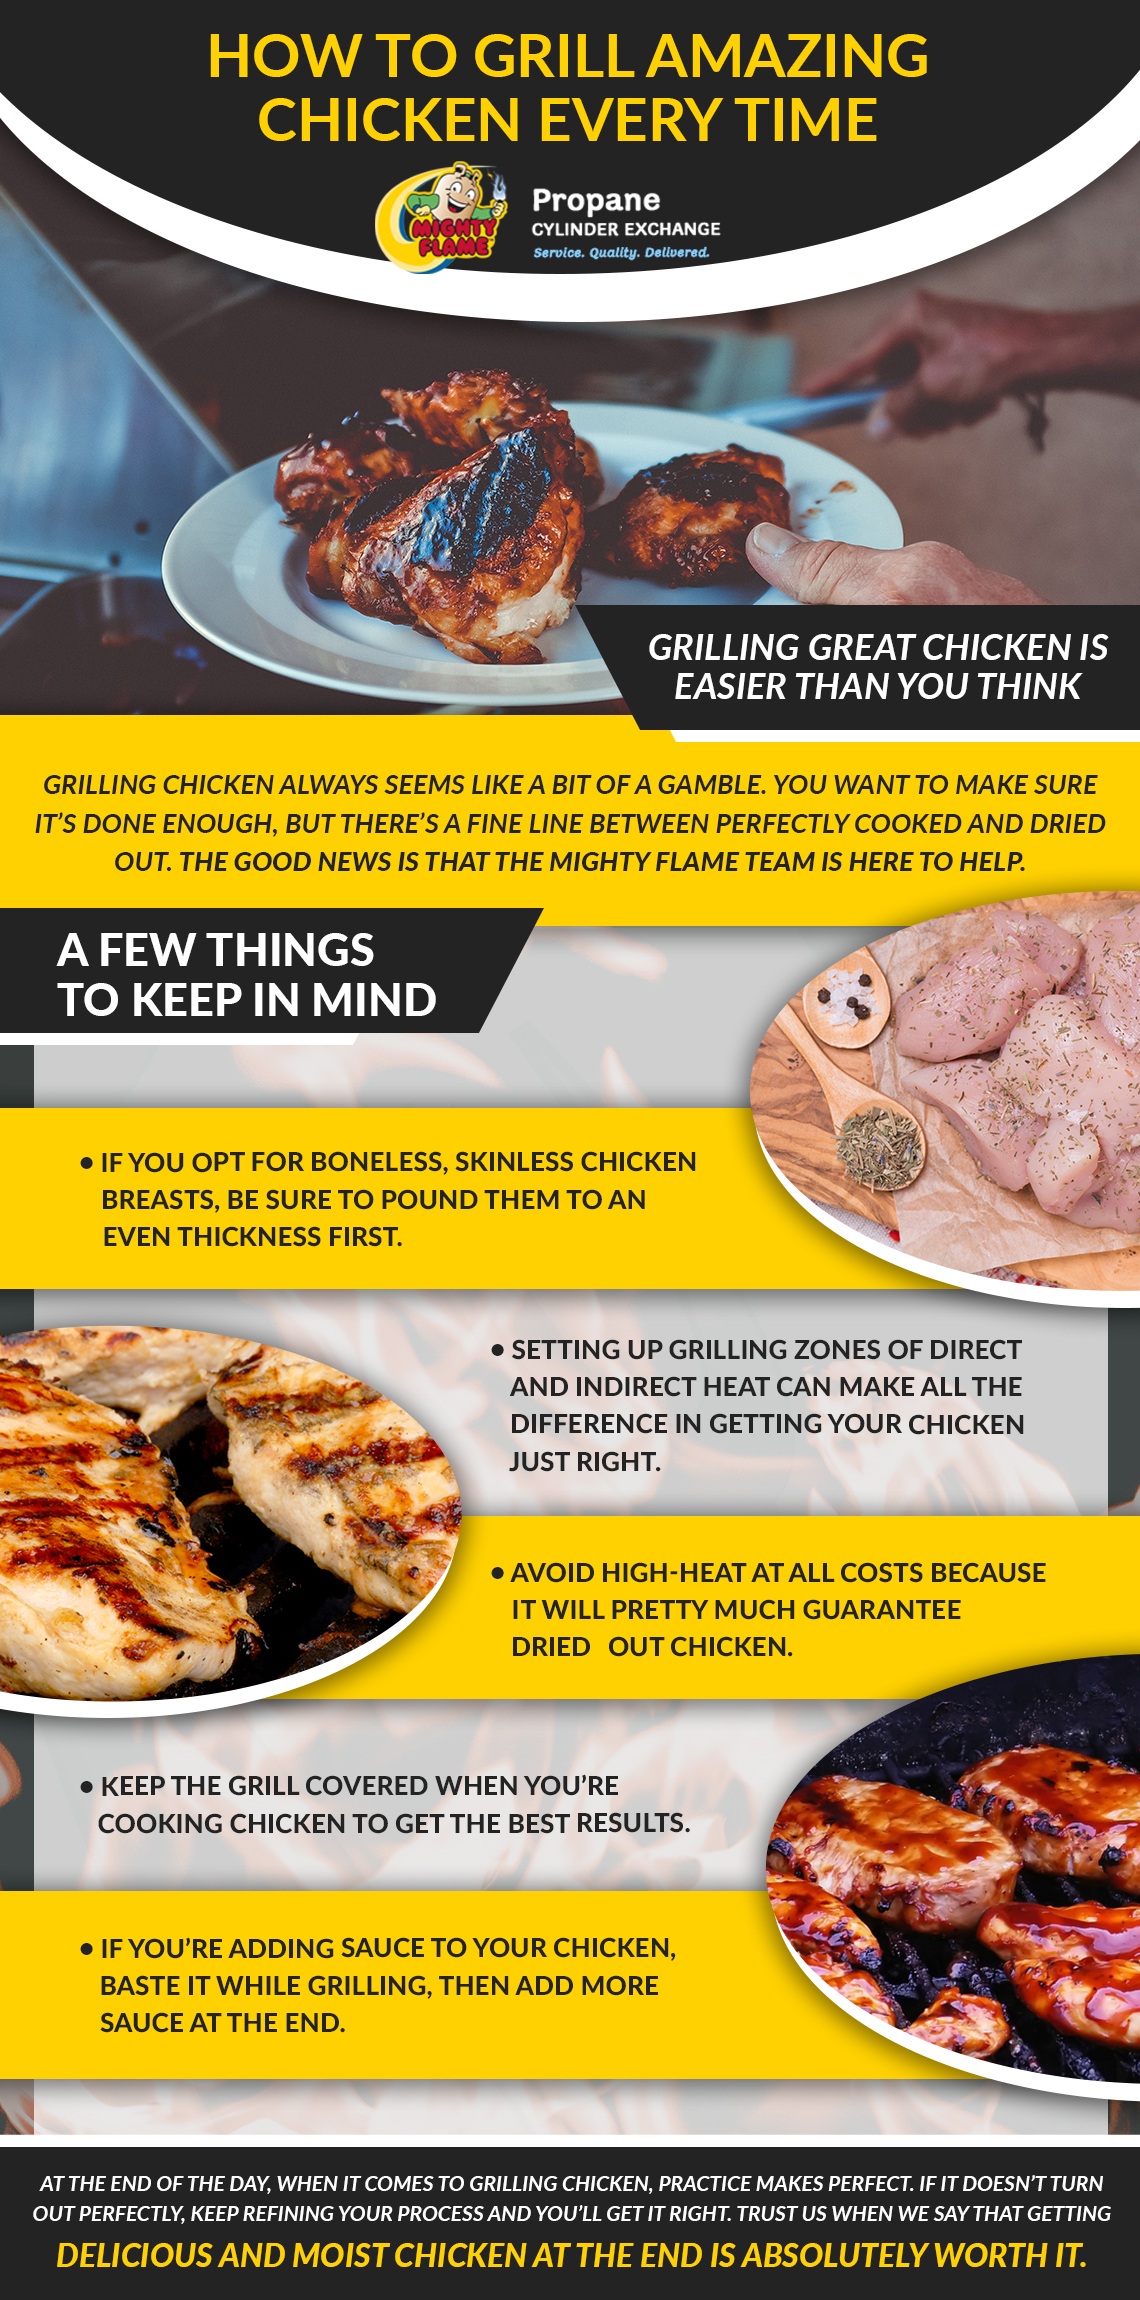
Create Different Heat Zones
At Mighty Flame, as you can imagine, we love using propane for grilling, and as a quick side bar, if you’re in need of a new tank, you can head to a propane tank exchange location near you and pick one up. Having said that, what is it about propane that makes grilling easier? Well, in this instance, it’s the ability to set up different heat zones on your grill. What we mean by that is for chicken, it’s helpful to have a spot for direct heat and another for indirect heat. We’ll go into greater depth on how to take advantage of these zones below.
In most instances, our recommendation is to set one zone for medium-high heat and the other for low heat.
Cook Your Chicken Evenly
One of the most important things you can do while your grill is coming up to temperature is to make sure that your chicken is fairly even in size. Our recommendation is to sandwich each piece between wax paper and pound it out to a relatively even depth.
All of the bad, dried out chicken you’ve had over the years? It’s probably because this step got skipped and the person cooking the chicken wanted to make sure it was actually done. This is understandable, because unlike burgers or steaks, you want to make absolutely sure your chicken is cooked all the way through. If a piece of chicken is uneven in the center, it’s going to take longer for that section to cook, while the thinner outside parts of the chicken is getting overcooked.
The solution, of course, is to even it out. You don’t have to go overboard; instead, just get it as close as possible and you should be all set.
It’s All About the Seasoning
Whether you plan to enjoy a chicken breast that’s been seasoned with your favorite rub or you are going to slather it in barbecue sauce, our suggestion is to start with salt and pepper. It will penetrate the meat, providing you with a wonderful depth of flavor regardless of what else you choose to do with your chicken.
Trust us when we say that this one small step can make all the difference in the world. Don’t skip it!
Start Grilling
Be sure to clean off your grill beforehand, of course. In the instance of chicken, we highly recommend oiling your grates. A paper towel with a bit of vegetable oil will do the trick, and a bit of oil here will ensure that your chicken doesn’t stick too badly.
Start grilling by throwing your chicken onto the direct heat zone of the grill. Close the lid through the process, and turn your chicken after a couple of minutes if possible. If the chicken is sticking to the grill when you’re ready to flip it, give it a little bit longer. The goal is to let it release from the grates as easily as possible.
Unfortunately, there’s no way for us to say exactly how long you should grill your chicken because each grill is going to be a little different and the thickness of the chicken that you’ve chosen can make a big difference as well. This is, of course, where your handy grill thermometer will come in handy, ensuring that your chicken is cooked all the way through. We should mention that the USDA recommends cooking your chicken to 165° F, but it’s important to keep in mind that your food will continue cooking even as you pull it off the grill. Our experience is that taking the chicken off when it hits 155° F does the trick, but your mileage may vary.
At the end of the day, the goal is to get a piece of chicken with grill marks, so keep your eye on things and don’t let a chicken breast burn. If you find that one piece of chicken is looking more done than the others, simply move it to the cooler zone of your grill.
Stay Tuned for More Great Grilling Tips
We hope that this guide will come in handy as you try your hand at getting chicken just right on the grill. At Mighty Flame, we pride ourselves on sharing all of the best grilling tips as well as presenting different grilling ideas. Whether they are for healthy grilled meals, barbecue grill accessories, or guides like the one above, you can count on us to make your grilling experience just a little bit easier.
Take a look at our blog archive page for more tips, tricks, recipes, and ideas, and be sure to swing by your nearest Mighty Flame location to make sure you’re stocked up for the next time you’d like to grill up some delicious chicken breasts.

